Editing Objects in a Spool
In most cases, you may customize an object in a spool. Changes to an output object in edit mode are equivalent to editing the object in its own window.
To make changes to the object you must first place the spool in edit mode. Simply double click on the object in either the tree or the output panes to put the spool in edit mode. Alternately, you may select the object you wish to edit, right-click, and choose .
When a spool is placed in edit mode, EViews will display the object being edited using the full width of the window. The toolbar will change to show the options for the edit object, instead of those for the spool object. In addition there be a new region, just below the toolbar, showing the object and display names for the edit object, as well as a button that saves any modifications, turns off edit mode, and returns you to the standard spool window.
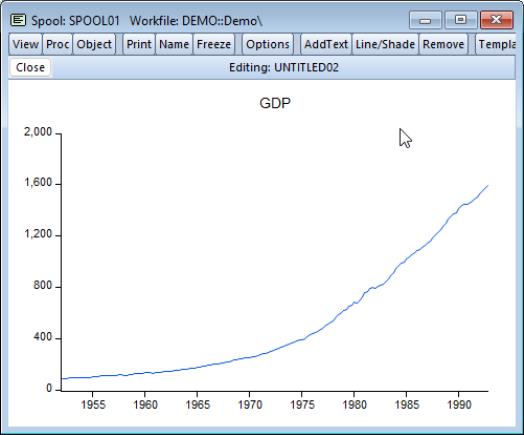
For example, edit mode for a graph object will show the graph in the main display, along with options for customizing the graph. Here we see a spool in edit mode showing the toolbar for a graph object. Clicking on or double clicking on the graph brings up the standard menu allowing you to perform extensive customization of the graph. Similarly, the menu and toolbar buttons may be used to add text, line shading, or to apply template options (see
“Graph Options”).
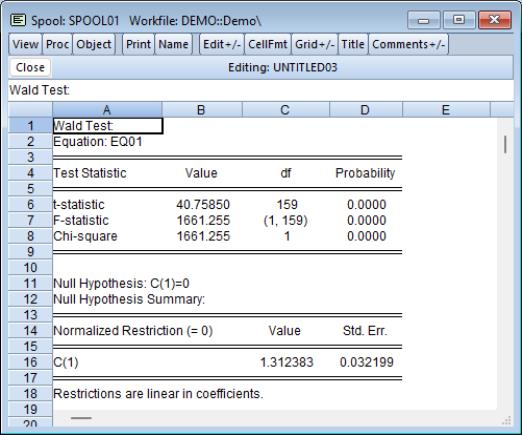
Similarly, editing a table in the spool allows you to perform extensive customization of the table. If a table is placed in edit mode, you will be able to perform all of the standard table editing operations, including row and column resizing, setting font sizes and styles, formatting cells, adding borders, titles, or comments, or simply changing the contents of a cell (see
“Basic Customization” and
“Table Cell Customization”).
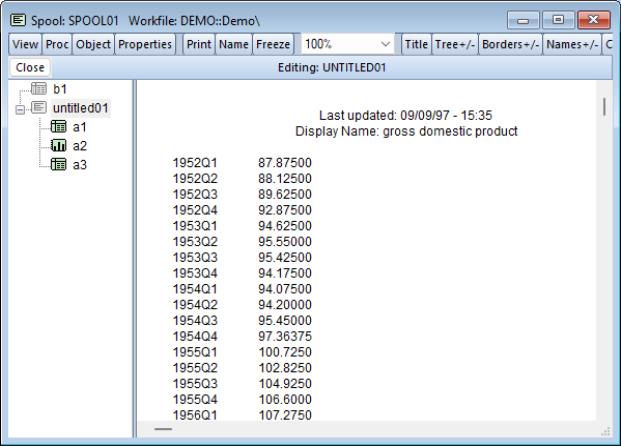
One important case of object editing involves editing an embedded spool object. When you double click on an embedded spool object, or select the embedded spool, right-click, and choose , EViews changes the spool display to show the embedded spool in edit mode:
Edit mode for the embedded spool is visually similar to standard mode for an arbitrary spool. There are only two visual cues that we are in edit mode in a parent object. First, just below the toolbar is the standard edit mode line containing the button and the description of the object name. Second, the icons for the objects B1 and UNTITLED01 are now grayed-out in the tree window, indicating that they may not be selected.
Indeed, working with an embedded spool object in edit mode is identical to working with a spool object in standard mode; you may perform all of the operations in this chapter using the embedded spool and its elements. Clicking on the button brings up the dialog which allows you to set display options for the selected spool. You may, for example, use the properties dialog to increase the vertical spacing or to display table titles for objects within the embedded spool. Since we are editing the embedded spool, changes in the spool in edit mode have no impact on the objects and settings in the parent spool. (See also
“Embedded Spools”).
Once you are done editing your object, you should click on the button to save all of your object changes and to return to the standard display mode.