Registered User Objects
While simple, unregistered user objects may only be employed as storage containers, registering a user object class creates a more powerful working environment. Note that we used the term user object class, reflecting the fact that when you register a user object, you are not simply declaring a single object but rather are defining the general characteristics of a type of object.
Registering a user object class allows you to have multiple objects of a given type in your workfile, each of which has its own data. Additionally, registering allows you, if desired, to define views and procs that can be used by any object of that class. These views and procs will execute a set of EViews programs that you specify as part of the registration procedure.
While not difficult, creating a registered user object class is a bit more involved than creating an unregistered user object. Details are provided in
“Defining a Registered User Object Class”. You may, of course, download and register user object classes created by others. Since working with example user objects provides good introduction to this powerful tool, we begin by discussing the steps required to download an object from the EViews website.
Downloading a Registered User Object
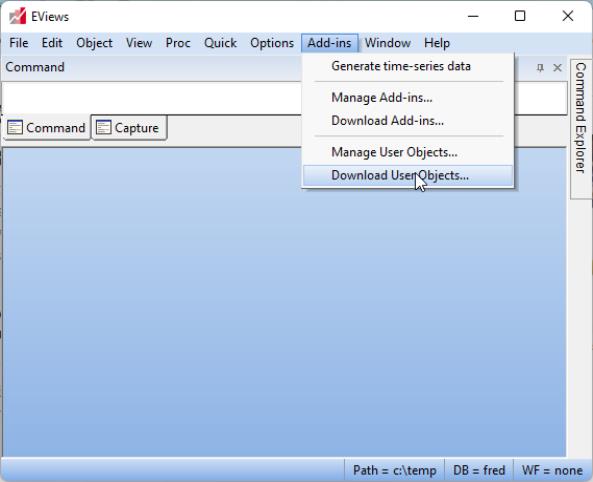
To download and install object class definitions from the EViews website, simply select ...from the main EViews menu.
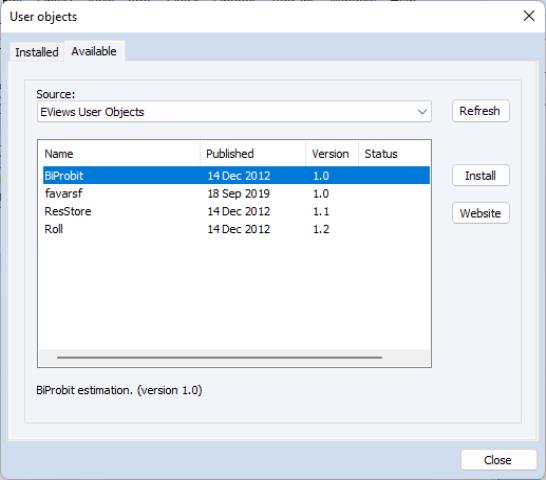
EViews opens the management dialog opened to the tab, which shows a list of the user objects classes (in this case ResStore, Roll, and BiProbit), that are available for download along with the date they were published, their version number, and their status (blank for un-installed, installed, or installed but out of date):
Selecting an entry displays a description of what the user object does below the listbox. Clicking on the button downloads the selected user object and prompts you to install the package on your the local computer. (Alternately, you may click on the button and follow the navigation links to the user objects page. Download the appropriate file to your computer then open it using EViews by double-clicking on the file or dropping it onto the EViews application window or the application icon.)
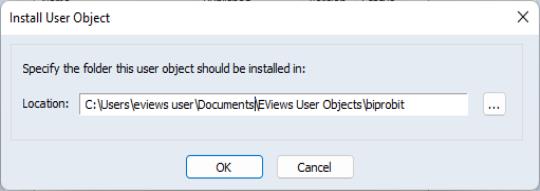
The first step in installation is to unpack and copy the files to your computer. By default, EViews will put the files in a sub-folder of your default directory (see
“Default User Objects Directory”) but you may choose an alternate location if desired (you may use the “...” button on the right-hand side to navigate to a specific directory). Click on to proceed.
To unpack the files without using EViews, simply change the download file extension from “AIPZ” to “ZIP” and use your favorite ZIP file tools to extract the contents into the desired directory.
Next, EViews will prompt you to run and installation program that is included in the user object package.
If you click on in response to the installation prompt, EViews will finish the automatic install procedure without running the installation program and registering the userobj. You may later examine the installation program prior to running it as you would any other EViews program, or you may manually register your object as described in
“Registering a User Object Class”.
Click on to finish the installation and registration. If there are conflicts with existing directory names or existing user objects, EViews will warn you before proceeding.
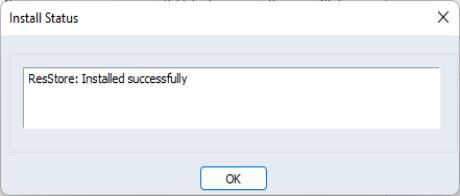
After completion of the automatic installation procedure, EViews will report the status of the installation:
We note that installing and running an EViews program file provided by an unknown individual has risks. Accordingly, we recommend that care be taken when installing packages from non-trusted sites.
All of the packages provided on the EViews website have been examined to ensure that they do not include potentially harmful commands.
Working with Registered User Objects
Once you have registered your user object you may work with it much as you would any built-in EViews object.
You can create a new instance of the object using the main menu item, or by declaring it on the command line using the name of the object and any relevant options or arguments:
userobj_class_name(options) my_objname [args]
You may use the defined views and procs of the object using the object or menu, or via the command line using the standard syntax:
userobj_name.view_name(options) [args]
userobj_name.proc_name(options) [args]
The user object data member @-functions may be accessed using the syntax:
[result_type] result = userobj_name.@datamember_name[(arg)]


